
고정 헤더 영역
상세 컨텐츠
본문
PWA (Progressive Web Applications) has been around us for a while. It makes an web app look like a native application, with configurable push notifications and offline functions. More and more browsers are supporting this technology now. You can even add the application to Google Play Store and Apple App Store.
SPA (Single Page Applications) already include PWA functions or you can easily swtich it on. However, how about other web applications? If your web app is using JavaScript, PWA can easily be added. We will find out how to do this.
반응형
In this article, we will use .NET WebForm as an example, but basic concept is the same on other frameworks. I will explain below.
The first thing you need to know is the entry point of your web app. For example, the entry point of .NET WebForm is default.aspx. In SPA, mostly it is index.html. The rest of the code used in this example is the same on all framework.
Also, two most important parts of PWA are manifest.json and service worker (js file), and you can easily create them.
In this example, I will just touch simple basics. Options for these two files are huge and you can do a lot with them.
728x90
1. Go to PWA Builder site (link below) and enter your web app's URL. It will analyze your web app for PWA.

PWA Builder
https://www.pwabuilder.com/
PWABuilder
www.pwabuilder.com
2. Once the analysis is complete, you will be redirected to a result page, which includes tons of good information.
The important section is where it helps you create manifest.json file, which is located in the middle of the page. In this section, you will click on Edit Your Manifest button.

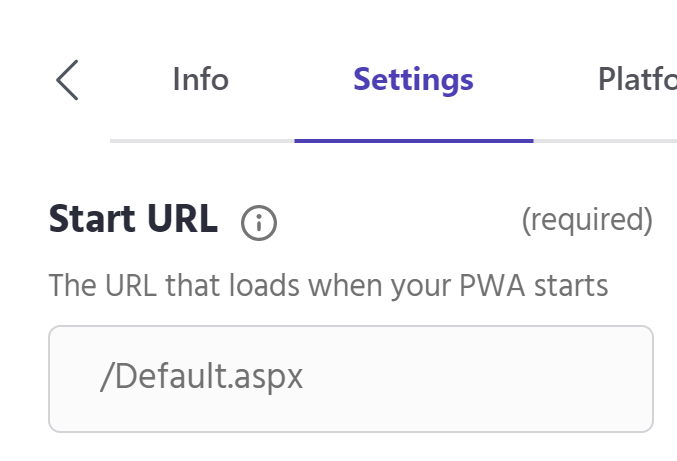
On the popup window, enter all inputs that are marked with "required". The important one is Start URL on Settings tab. This is the entry point page I referred above. In this example, it is .NET WebForm, so it is shown as default.aspx. You will enter your own entry point page.
Then you will upload your web app's icon on the Icons tab. The image must be PNG format and it requires several sizes. The web site below will help you create icons with required sizes.
Image Generator
https://www.pwabuilder.com/imageGenerator
PWABuilder
www.pwabuilder.com
Once the icons are uploaded, you can also upload web app's screenshot. This screenshot is used for app stores and PWA information screen.
3. Once all information is entered, press Download Manifest button to get the manifest.json file
I prefer copying the code and put it in my project manually, but you can also download the file and edit the code. This file must reside on the root of your project folder. You wll need to edit the icon image locations to appropriate image locations of your web app.
"theme_color" is color of PWA window. The background color of your PWA window will be this color.
The image files for the various icon sizes must be residing on your web app, and you must make sure that the manifest.json file has the correct image address. Additionaly, you must add "purpose" on each icon, and usually "any" will be fine.

For iOS, PWA is not compatible yet, so you can only Add To Home (as a shortcut icon on your home screen). The icon can be created using the link below (Maskable.app Editor). The icon for the home screen can be made by adding the following line on your page's <head> section.
<link rel="apple-touch-icon-precomposed" sizes="PNG Image Size (eg. 640x640)" href="PNG Image URL Address">
iOS Icon Editor for PWA
https://maskable.app/editor
Maskable.app Editor
Layers Export Share Maskable.app Editor lets you generate maskable PWA icons before adding them to your web app manifest. Maskable icons allow web developers to specify a full-bleed icon that will be cropped by the user-agent to match other icons on the de
maskable.app
4. Add the following line of code in the <head> section of the page to register manifest.json.
<link rel="manifest" href="/manifest.json">
This is it for manifest.json.
5. Back to the result page (from Step 2), press Generate Service Worker button.
This is located at the bottom of the result page.
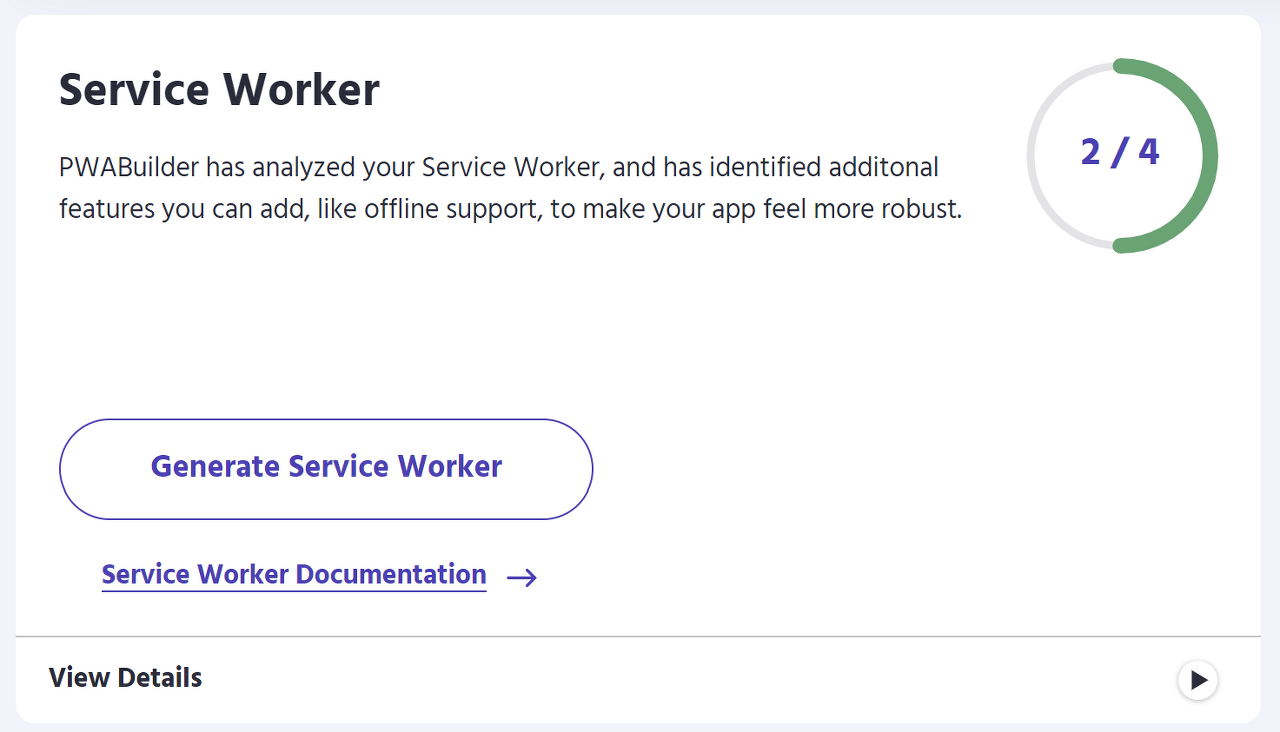
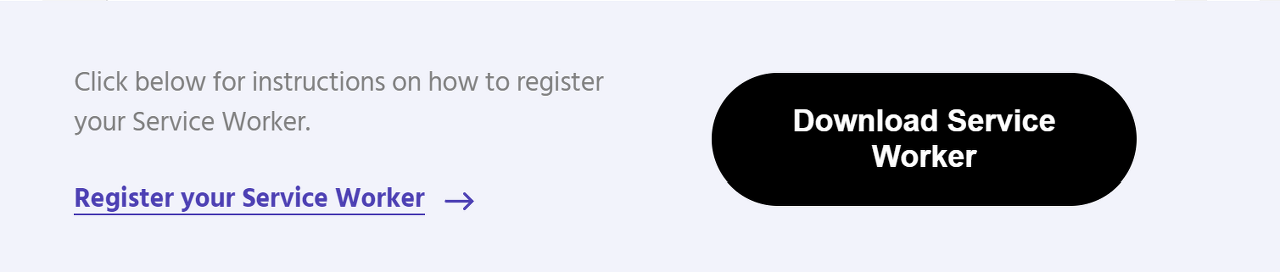
A popup menu for the Service Worker will show. All you need to do is to press Download Service Worker button. This will generate a js file for you to use with your web app. This file includes only basic functions to start service worker and test. You can customize offline options and so on.
Put this js file on the root of your project too.
6. Register Service Worker
Register the service worker by adding this block of javascript code on your page.
<script>
  if (typeof navigator.serviceWorker !== 'undefined') {
    navigator.serviceWorker.register('name of service worker js file')
  }
</script>
This should be it for adding PWA function to your web app. When you run the web app, you may get 404 error when calling manifest.json file on your web app. This is mostly due to the missing MIME type of your web server. All you need to do is to add json MIME type to your web server so it knows how to handle json.
When there is no error, you will see a message saying that the service worker was registered in the console. In Chrome, you will see this PWA installation icon in the address bar.

Also when you go to your web app in Mobile Chrome (Android), you will see a popup asking if you want to install this PWA.
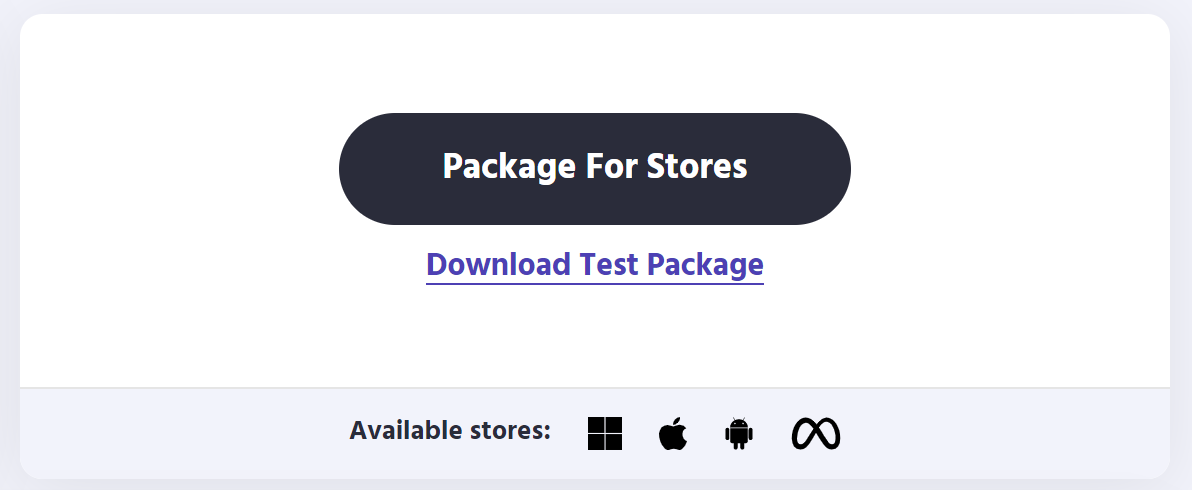
When you are done with testing PWA with your web app, you feel you are ready to add this to the app stores, you can create your app package (in the result page - Step 2) by pressing Package For Stores button. The method for creating a package will differ by OS but this will be your starting point.
Thank you and good luck with your coding journey!
도움이 되셨거나 즐거우셨다면 아래의 ❤️공감버튼이나 구독버튼을 눌러 주세요~ 감사합니다
728x90
반응형
'개발 (Development & Coding) > 영문본 (English)' 카테고리의 다른 글
| Entity Framework : The Fastest Way to Insert Large Amount of Data - C# & .NET (0) | 2023.03.29 |
|---|---|
| T-SQL - Cursor - Description and Use-Case (Example) (0) | 2023.03.20 |
| Entity Framework Core - Best Practices - C# & .NET (0) | 2023.03.15 |
| Page Change Event Code That Works in ALL Devices and Browsers - JavaScript (0) | 2023.03.13 |
| Static Method Using "this" Parameter - C# & .NET (0) | 2023.03.09 |


